I did a couple of pieces of rust dyeing a while ago, then put them away as I couldn’t decide what to do with them. Then the Suffolk East Embroider’s Guild held a rust dyeing workshop at their monthly meeting and I was hooked in to trying it again.
Rust dyeing is wrapping rust giving objects in fabric, cotton is probably best ,or stitching them in, sprinkling with water and white vinegar then keeping them in a plastic bag for a few days. I don’t think its an exact science, you just have to do it!
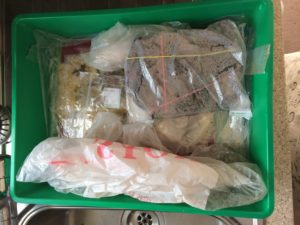
These are my wrapped packages. Some are rolled up, others I put on old table mats to keep them flat before I put them in plastic.
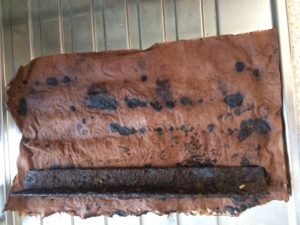
This is a V shaped heavy piece of iron wrapped in a piece of calico I had stained with tea.
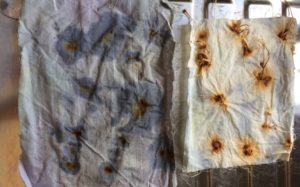
These pieces were dyed flat in the same “parcel” . I stitched washers onto the right piece before dyeing, then laid the piece on the left, which had already been dyed with blackberries, on top.
This time I’ve stitched objects into a piece of wool fabric. Being a bit vague about metals and not having checked with a magnet the item I used on the left was I think copper, hence the green
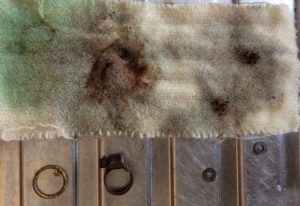
Disappointing results from keys. I’d hoped for a good image.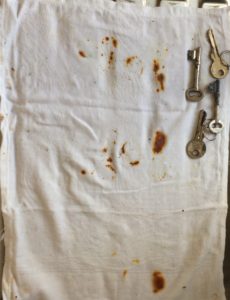
I used short pieces of wire and steel wool hoping for a mirror image of something resembling trees. It didn’t happen.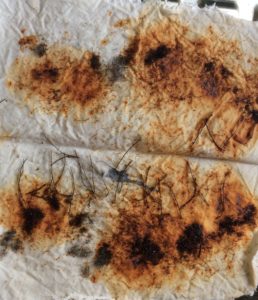 This time I stitched small cylinders in an organised way on to muslin dyed with a natural dye……I didn’t write it down so I’ve forgotten which, and laid a piece of avocado dyed (pink)calico on top . The avocado piece is the only one I’ve worked on so far. Thinking the rust marks look like insect bodies I’ve given them wings and legs! The rust is solid so has been impossible to stitch into. This is a work in progress.
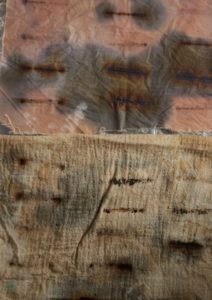
I like this piece of linen which already had a burn mark on it. I’ve now forgotten what I used, wire, perhaps?I wish I was a better record keeper but then the chances of reproducing it are small.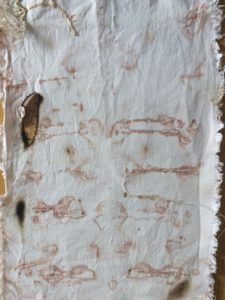
Well I enjoyed discovering what happened…….the bigger challenge is making an interesting piece from this addition to my textile stash!
Marion
